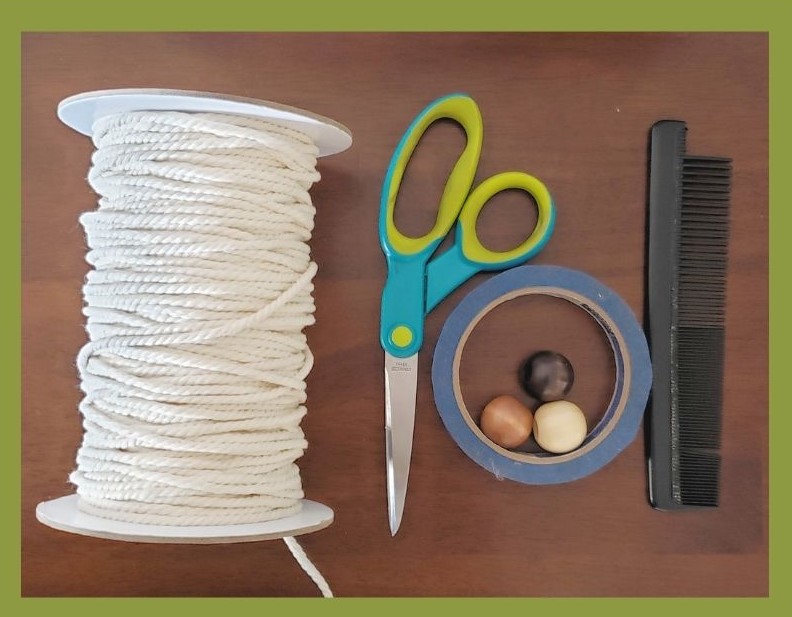
It may be helpful to have an anchor for beginners. You can use a cork board and pin your project down as you knot. And as you rotate your project, you can unpin and reposition as needed. Tape works well too.
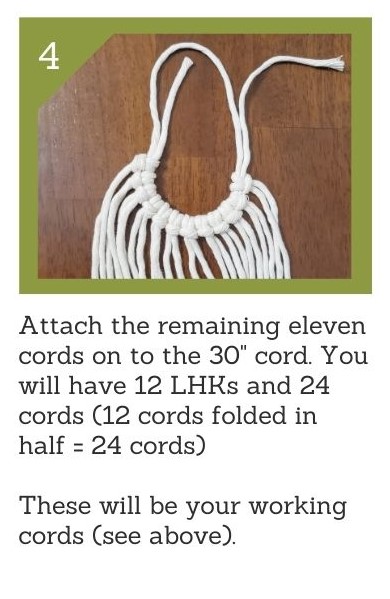
If you have multiple colors, you can create your own pattern in step 4. I.e. Interchange colors as you attach them onto the filler cord.
If you’re a brand new beginner, go slowly and don’t get frustrated! You can always untie and redo.
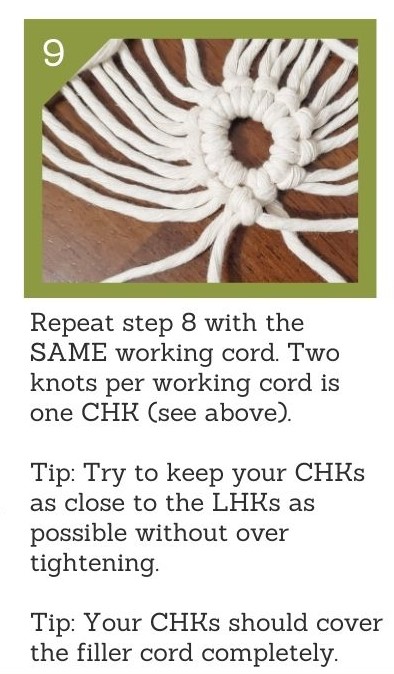
You shouldn’t be able to see the filler cord through your knots.
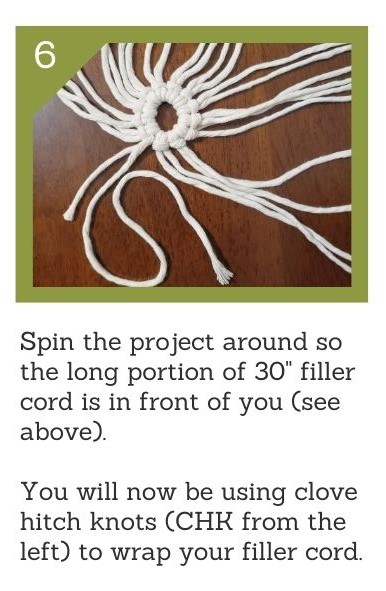
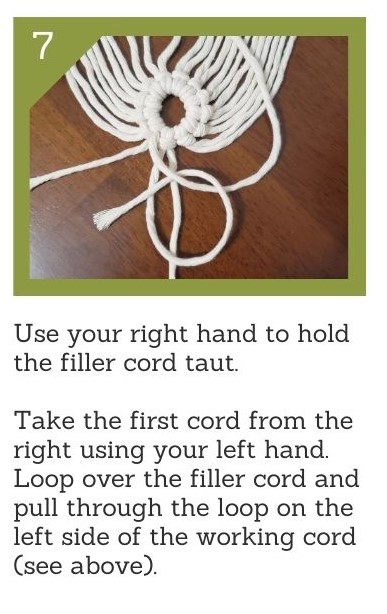
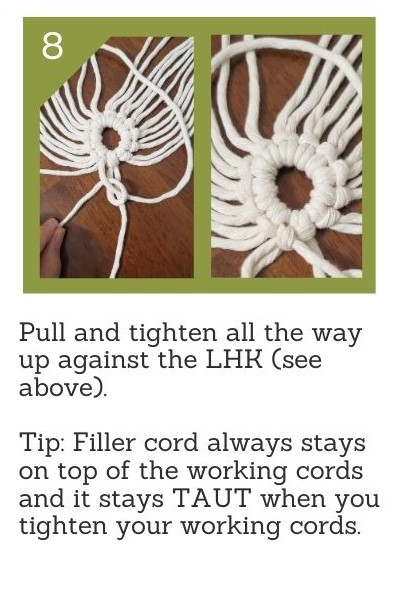
Filler cord should be held taut as you knot onto the filler cord. (From step 7 and on)
If you have any questions or any suggestions for a different pattern, leave me a comment below! Again, I have kits in different colors and can customize the color choices, so check out my Etsy store for this kit. A PDF document with all the tips and steps will also be provided with the kit.